
This summer Rachel and I went to a woodworking workshop to make our own wooden rings. I never really understood how a metal band is supposed to signify our commitment to each other, so before we buy our actual rings, I figured that the experience of making rings ourselves would be a little more fun and meaningful. Neither of us have much experience in woodworking, so we took the lathe-turning workshop at Tombalek to learn the basic skills required.
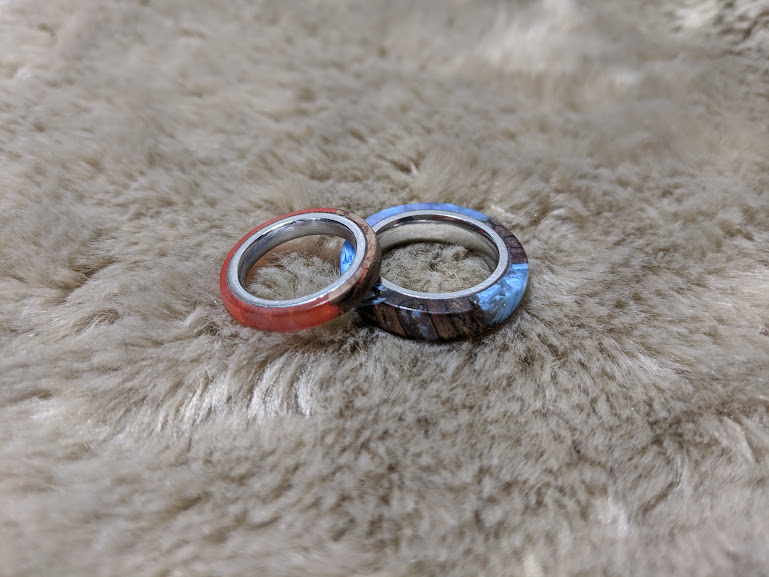 Rings we made
Cheong Keat, our instructor at Tombalek, was extremely helpful and taught us the basics of using the machines in a woodworking workshop.
I bought the materials online from Strange Materials on Etsy and Craft Supplies USA.
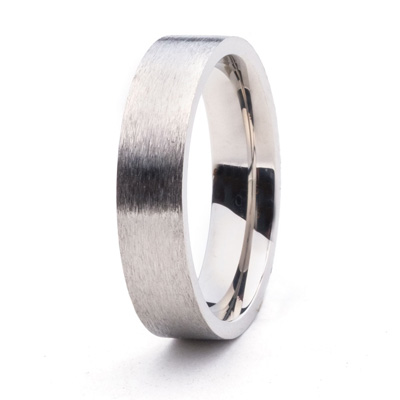
![]() Wooden blanks
Wooden blanks
 Ring core
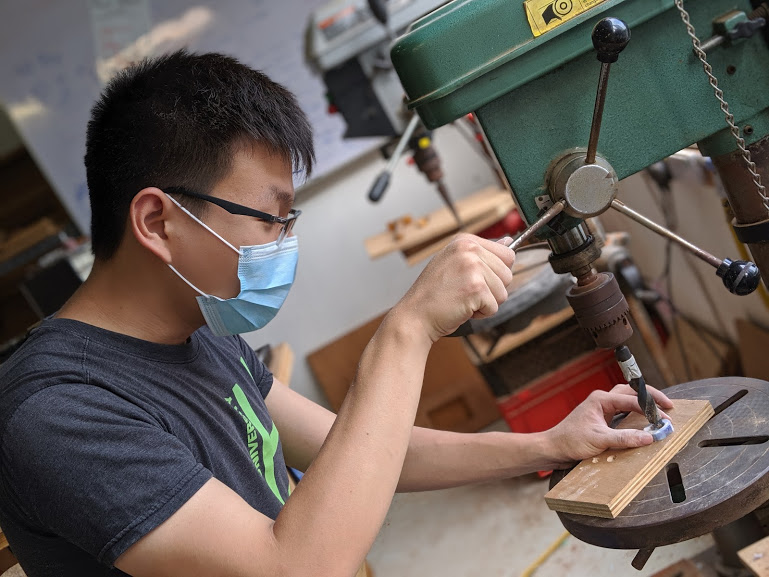
Drilling
The first thing we did is mark the center of the wooden blank for where the metal ring would go. We drilled a hole at the marking and sanded the inside smooth with a sanding bit.
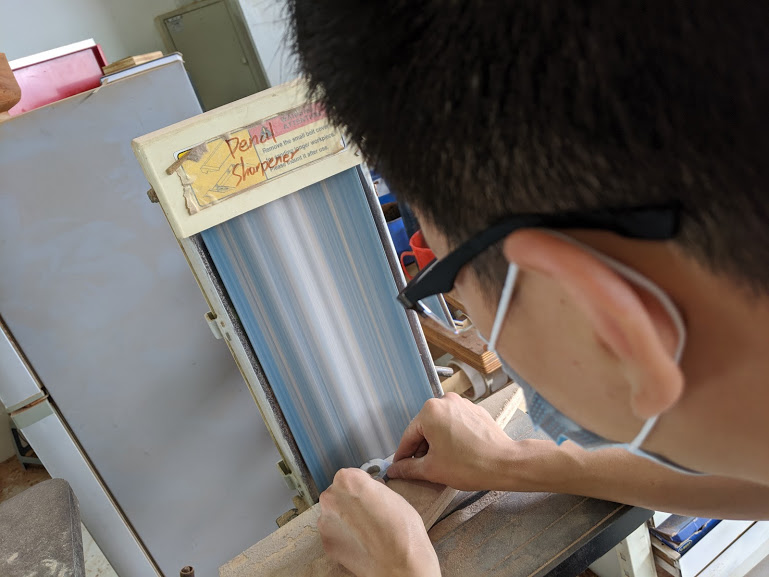
Sanding
To make the lathe-turning part easier, we sanded the wooden blank to be a rough circular shape with the sanding belt.
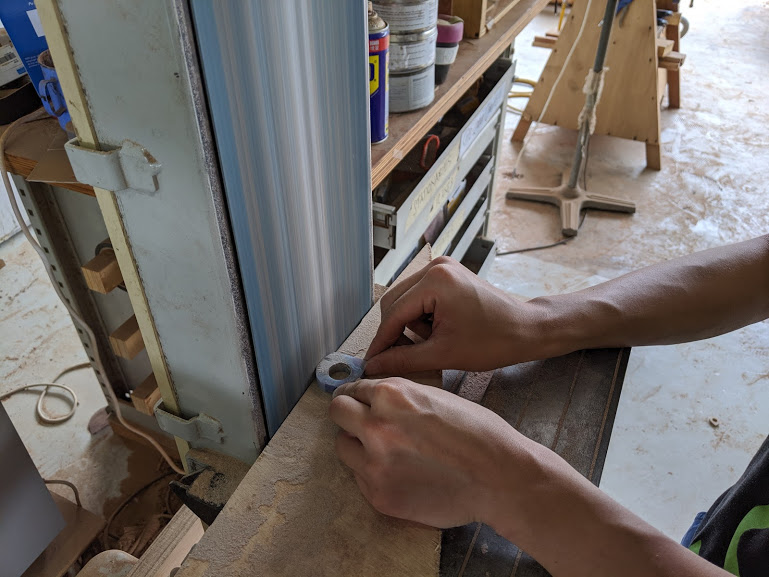
The next step is to attach the metal ring and the wooden ring. The metal ring is too smooth to stick well to the wooden ring, so we sanded it to 320 grit before we applied CA glue to stick them together.
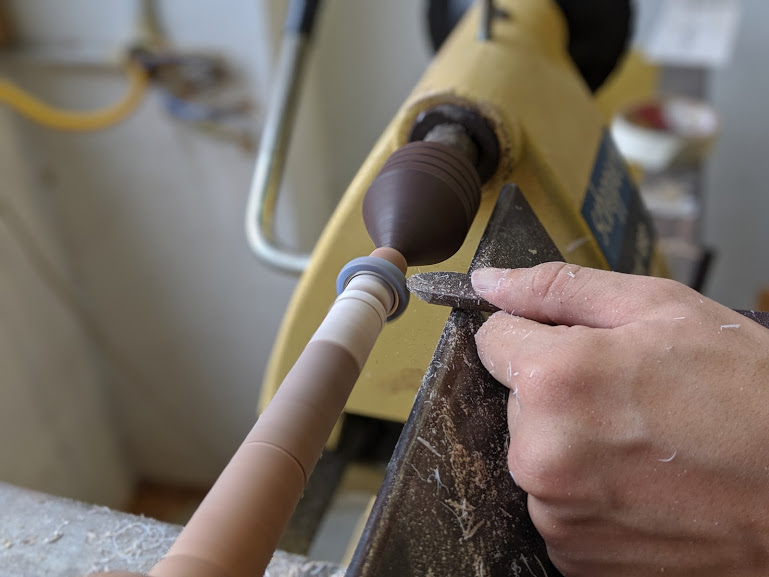
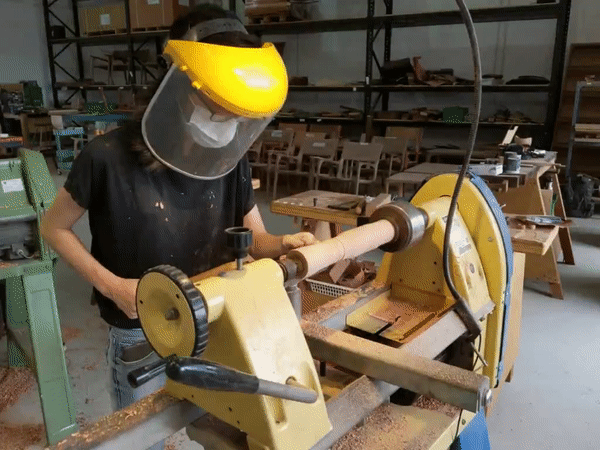
Turning
We secured the wooden ring on the lathe and began turning them to the right shape and thickness. My ring turned out a little too thick, Rachel’s was marginally better.
Finish
Lastly, we had to apply finish to make the rings shiny and protect it from the elements. We applied CA glue and Cheong Keat buffed the rings for us using an orbital sander.
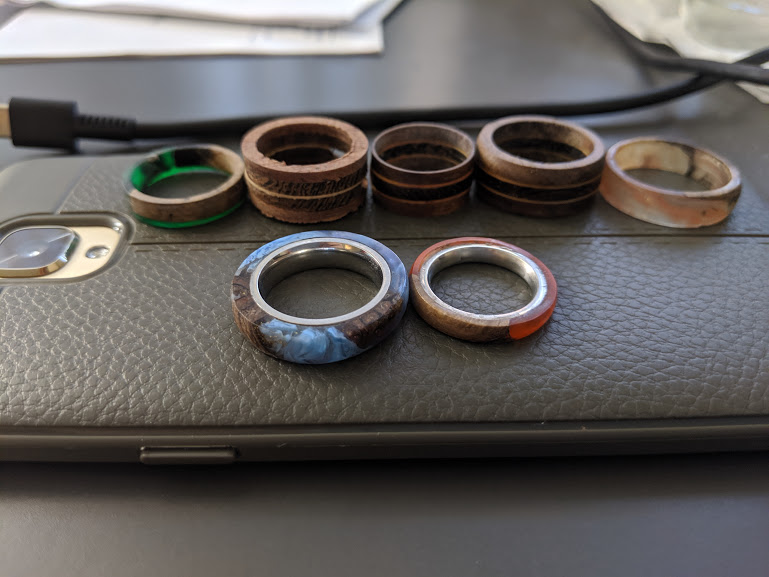 The many rings we made
Overall, it was a super fun experience, though Rachel seemed allergic to wood dust and kept coughing afterwards. ;(
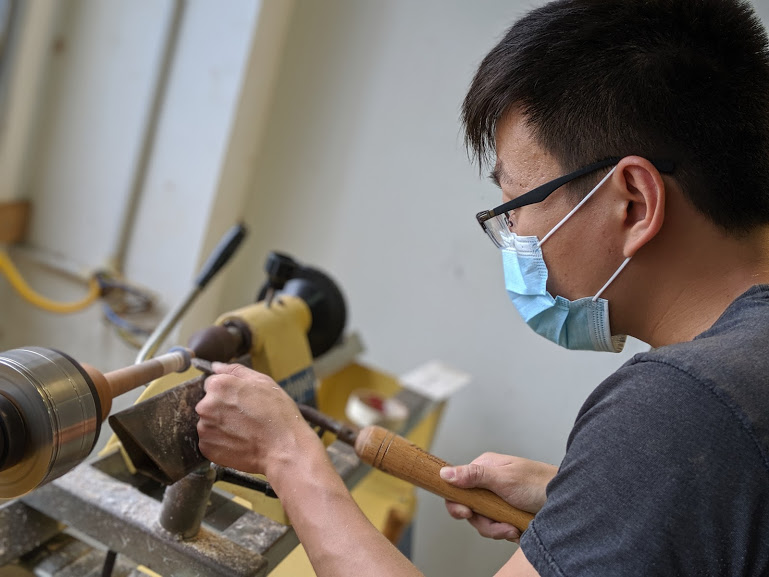
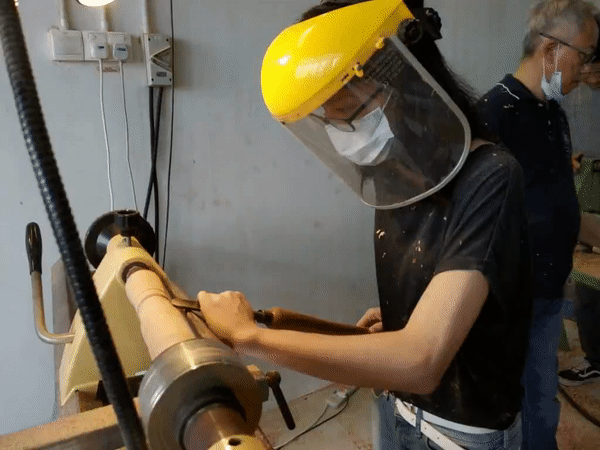
 Bonus: Rachel turning a spindle
 Looks professional
